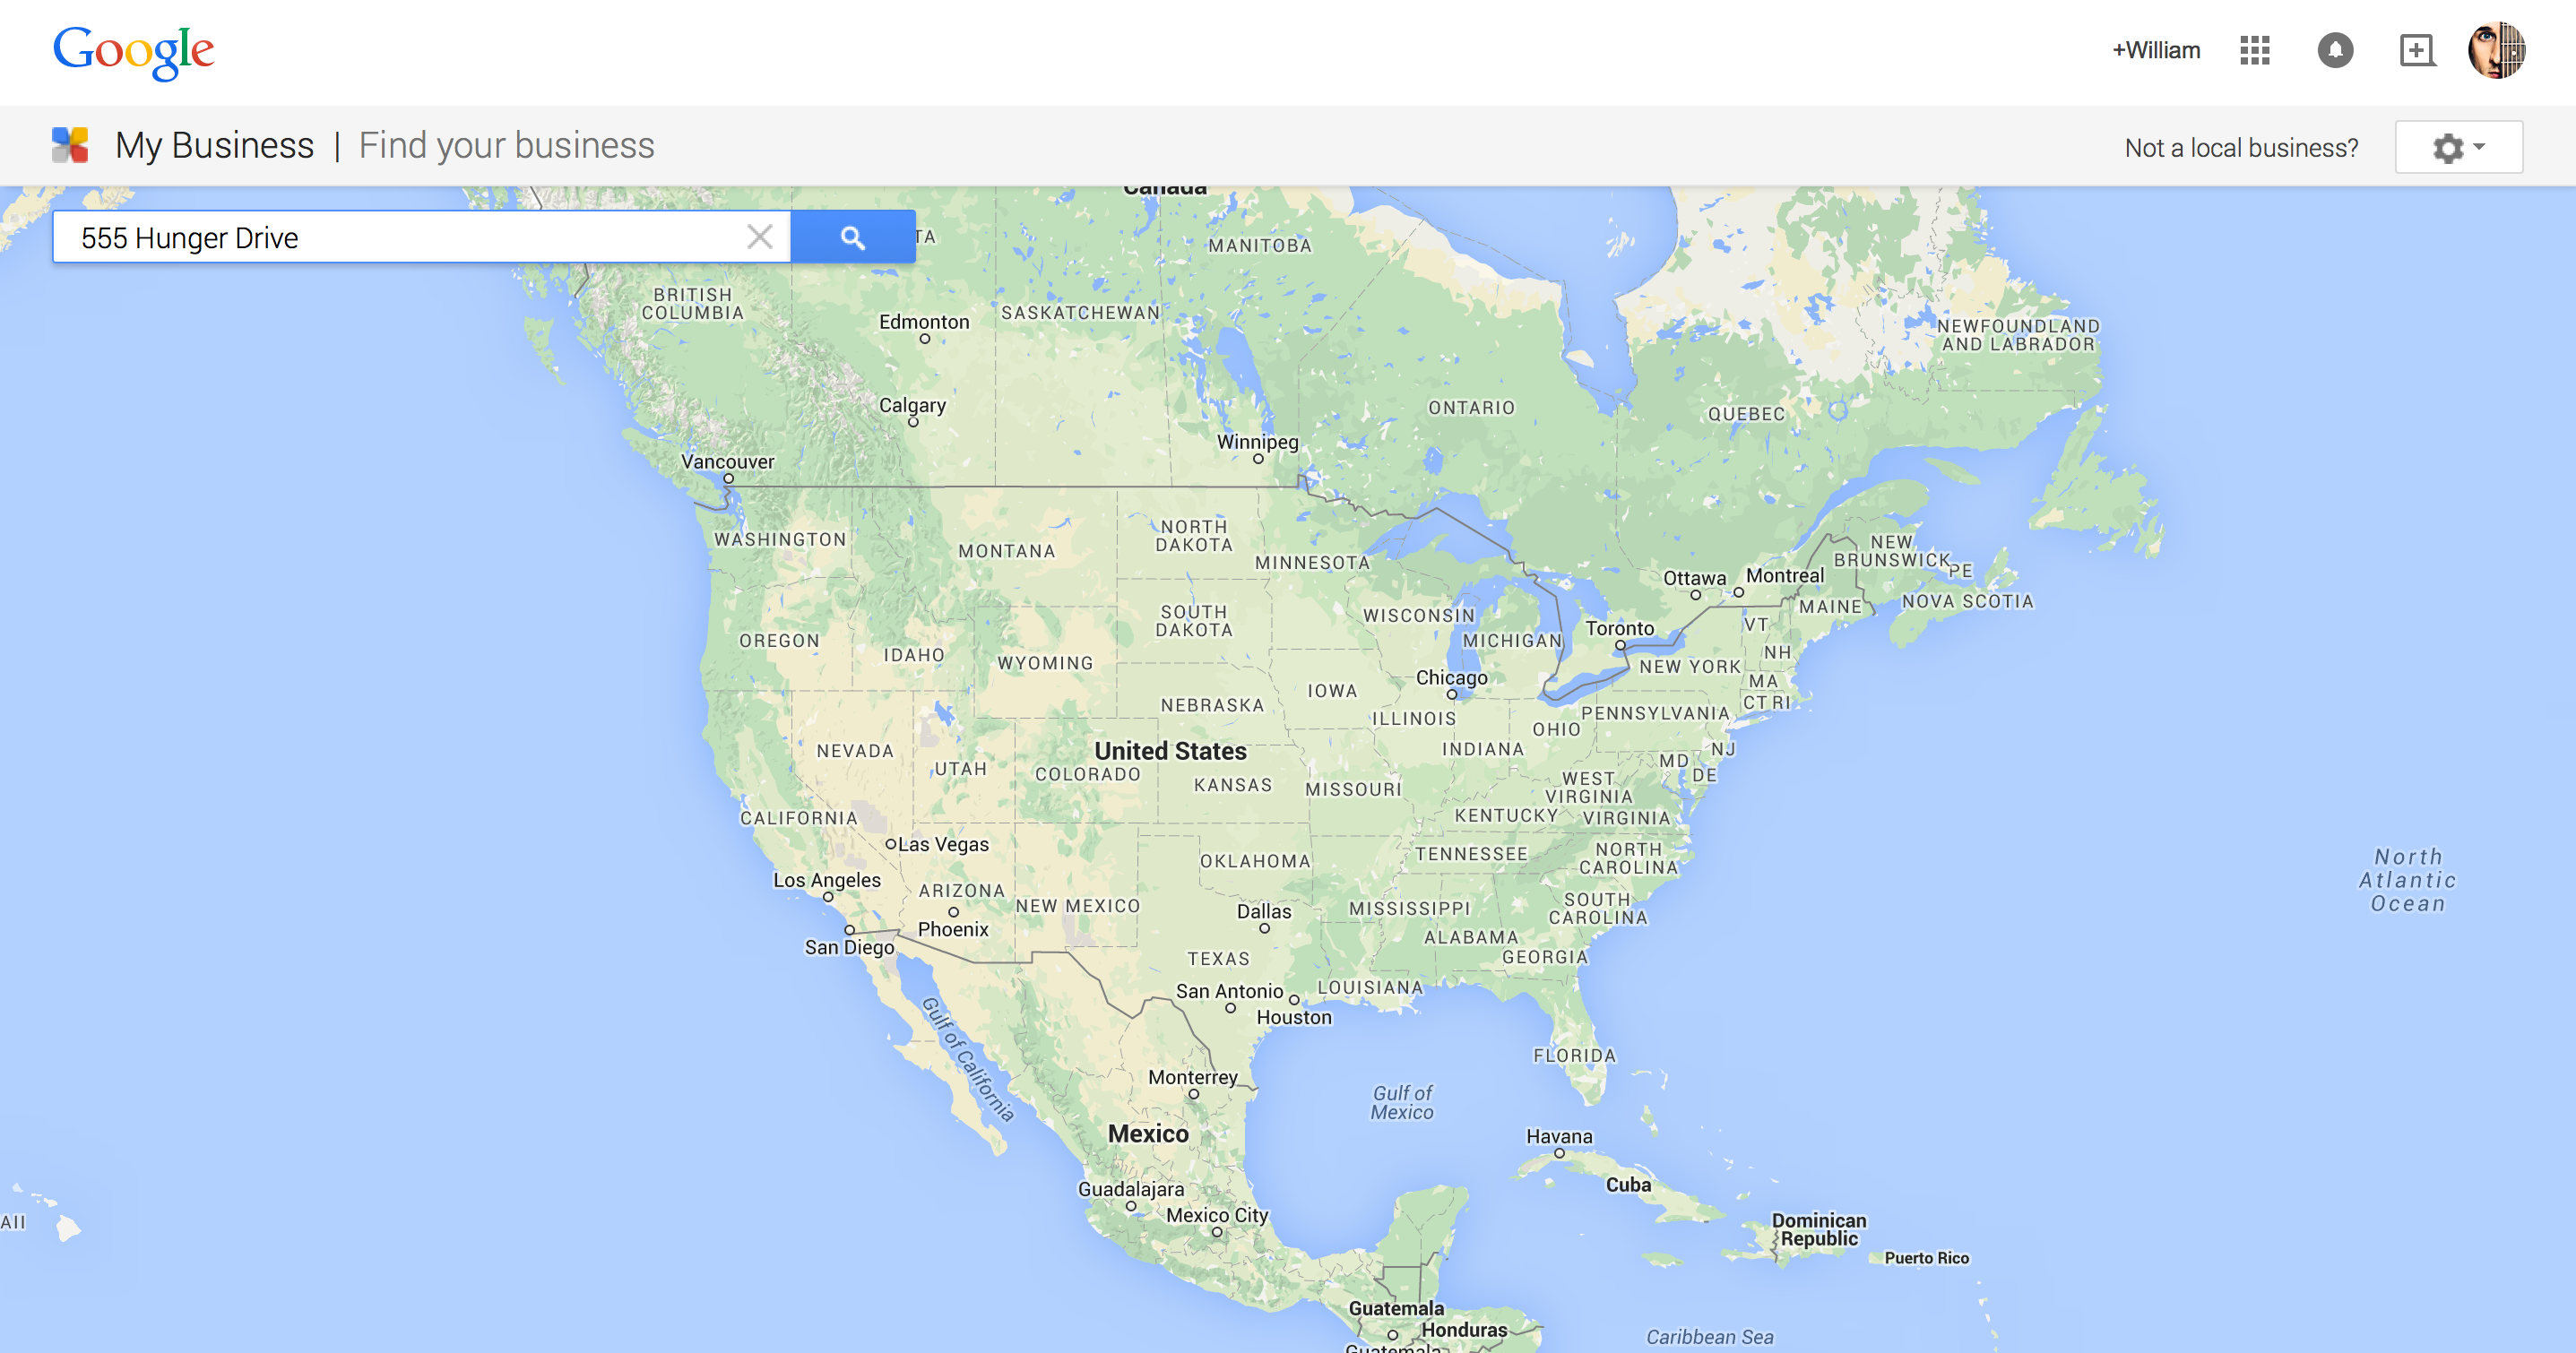
Chances are your shop is already set up on Google Maps - and now you want to claim it so you can update the phone number, address, hours of operation, reviews and all sorts of other things that are important with your listing on Google. A lot of people might not realize the value of claiming their shop on Google Maps, but just ask anyone that has ever ended up at the wrong location because the map was wrong - its a big deal.The first thing you want to do is go to http://www.google.com/business/. Then simply click on the big blue button that says, "Get On Google". You will land on a giant map that looks like this:
Step 1: Find your business

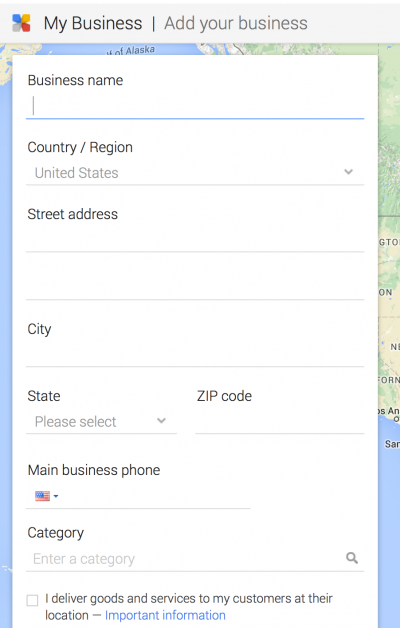
Now just type your address in the search bar in the upper left hand corner. If you haven't claimed your spot on Google Maps - then it will like say that it couldn't find that address - that's ok, just click on "I've correctly entered the name and address" (and make sure you really DID enter the correct name and address haha). Now you will have a screen that looks like this:
Step 2: Put in your information

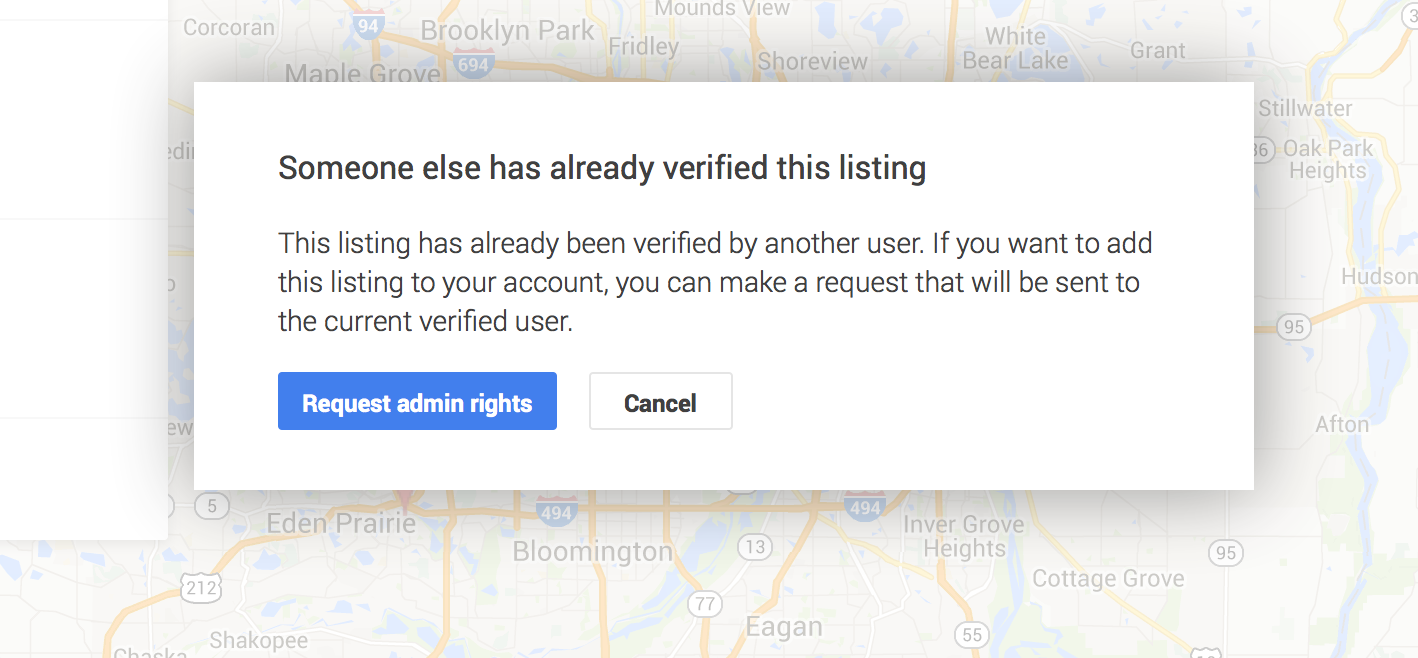
Now just type the details in the fields provided. So type your business name, address, phone number, etc. If someone has already verified your listing you will get something that looks like this- you will need to click the blue button to "request admin rights":
Already verified?

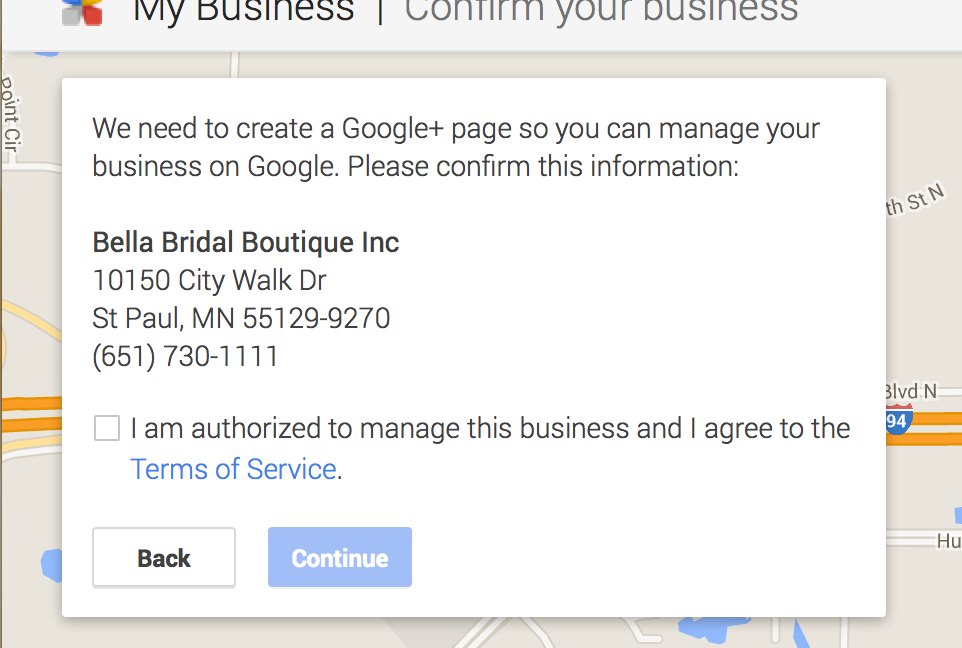
For everyone else - you've just entered your business details and how you get a screen like this. Go ahead and check the box confirming that you are authorized (if you are -and read the terms of service to make sure you agree).
Step 3: Confirm your business

Ok - now you should have that asks you to keep an eye out for a post card that should arrive at your business location in 1-2 weeks. Make sure you don't throw this card away - or you kinda need to start over and get a new post card mailed to you. Click, "Send the postcard" and you should be taken to the Google Plus page - if you have ever set up any other Google Plus pages - this is set up the same way. You can edit your address, phone number, add pictures - and most importantly, manage reviews. Go through and update the information as needed - and take the tour. So many people skip the tour and then have questions later - the tour was designed to answer your questions ahead of time. It will save you time in the long run. (Thanks Bella Bridal Boutique for letting me use you as an example).
Step 4: Wait 1-2 weeks.
When the postcard arrives with the code you need - simply enter it here, at the top of your Google Plus page. Now you can have fun getting everything set up the way you want it and manage your reviews (which is really important). If you are still having trouble you can email me and I will get yours set up for you.

Do you have anything else to add? Are you running into any trouble?


%201.png)